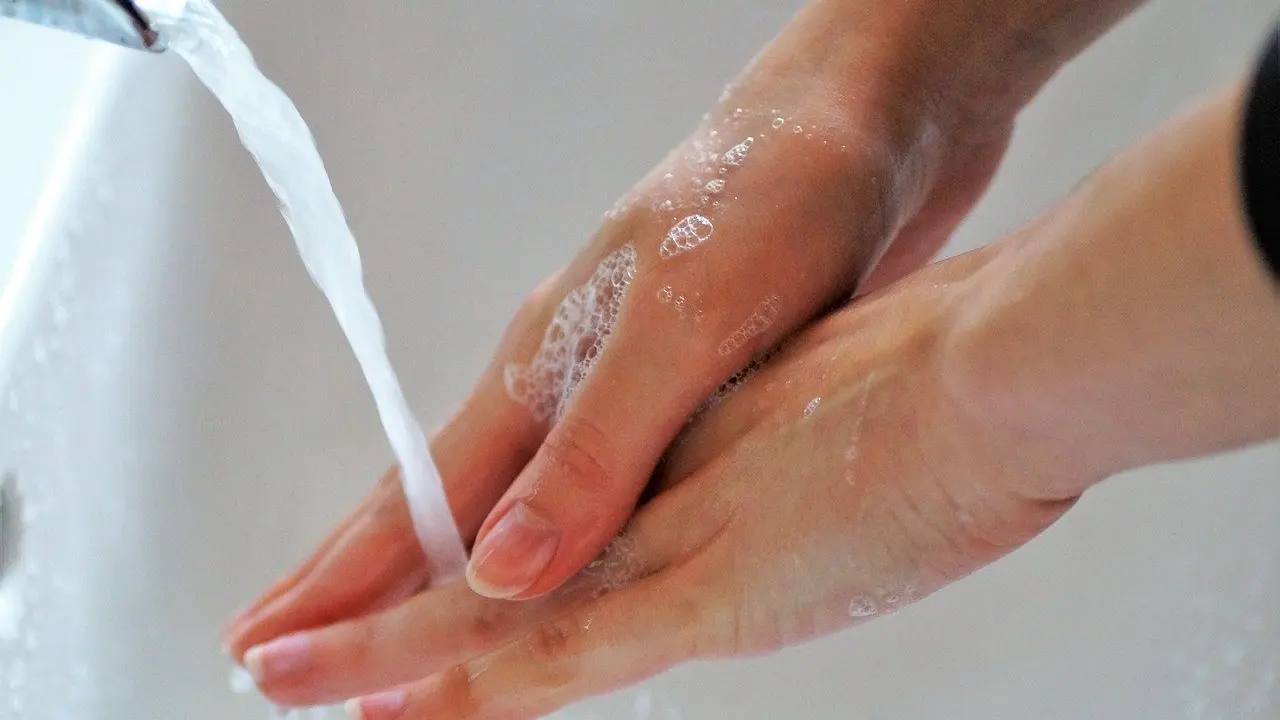
How to remove nicotine stains from fingers: start with a baking soda paste or a lemon wedge, exfoliate with care, moisturise afterwards and keep bleach off your skin. The stains are cosmetic and fade over months once exposure stops.
Gentle home methods can speed that fading, but they cannot fix the cause. The stains are a visible mark of an ongoing habit, and what happens when you quit smoking goes well beyond the colour of your fingertips.
Why fingers turn yellow, and why it is not permanent
Nicotine stains are a yellowish discolouration on the ends of the fingers from holding a cigarette, sometimes called “smoking fingertips”, as described by the Mirror. The same article calls the stains “really just a cosmetic issue”. That description matters for choosing a method: a cosmetic mark does not justify anything harsh.
The stain sits in the outer layer of skin, and that layer renews itself. Almond Nails explains that nicotine stains are not permanent because skin cells die and are replaced, so the colour eventually goes away on its own. The same source puts the wait at months. A forum post on Netmums gives an anecdotal example: a partner who smoked roll-ups saw the stains fade once he quit. It is one person’s report, not evidence, but it matches the skin-renewal explanation.
This gives two practical conclusions:
- Removal methods work on the surface. They tidy the colour while the skin renews, so expect gradual improvement from repeated gentle sessions rather than a single dramatic result.
- Stopping exposure is what ends the cycle. If the habit continues, new stain keeps arriving as fast as old skin is shed.
Almond Nails also says that removing the stain more lastingly takes a combination of exfoliating and a skin-safe bleaching agent. That is a useful frame for the methods below: some lift colour, some remove the top layer of stained skin, and the mildest options are the sensible place to start.
Gentle methods to try, in order
Work from the mildest option to the strongest, and stop moving up the list as soon as the colour is acceptable. Each method below targets the stained skin only, so keep it away from cuts and cracked cuticles.
1. Baking soda paste
Mix baking soda with water into a paste, apply it to the stained fingertips, scrub gently and rinse. The Mirror describes this paste as an effective option. It is the best first step for most people because it needs only two kitchen ingredients and no waiting time. Keep the scrubbing light; the aim is to lift surface colour, not to rub the skin raw.
2. Lemon
Does lemon juice work? According to the Mirror, rubbing the fingers with a lemon wedge can help break down the stains. Almond Nails gives a timing: leave the lemon on and rinse it off after about 5 to 10 minutes, and repeat up to five times a day. Treat five times a day as a ceiling, not a target. A lighter routine suits sensitive skin, and the moisturising step later in this guide matters more the more often you repeat it.
3. Exfoliation with a pumice stone or brush
Exfoliating removes the stained top layer of skin directly. Almond Nails names a pumice stone, nail file or nail brush as the usual tools, and warns that fingers are more sensitive than feet, so use more care than you would on heels. A parent on Netmums says exfoliating with a pumice stone “usually does the trick”, though that is an anecdote. A soft nail brush is the cautious choice; a pumice stone suits thicker, tougher skin on the fingertip pads and needs a light hand.
4. Hydrogen peroxide soak
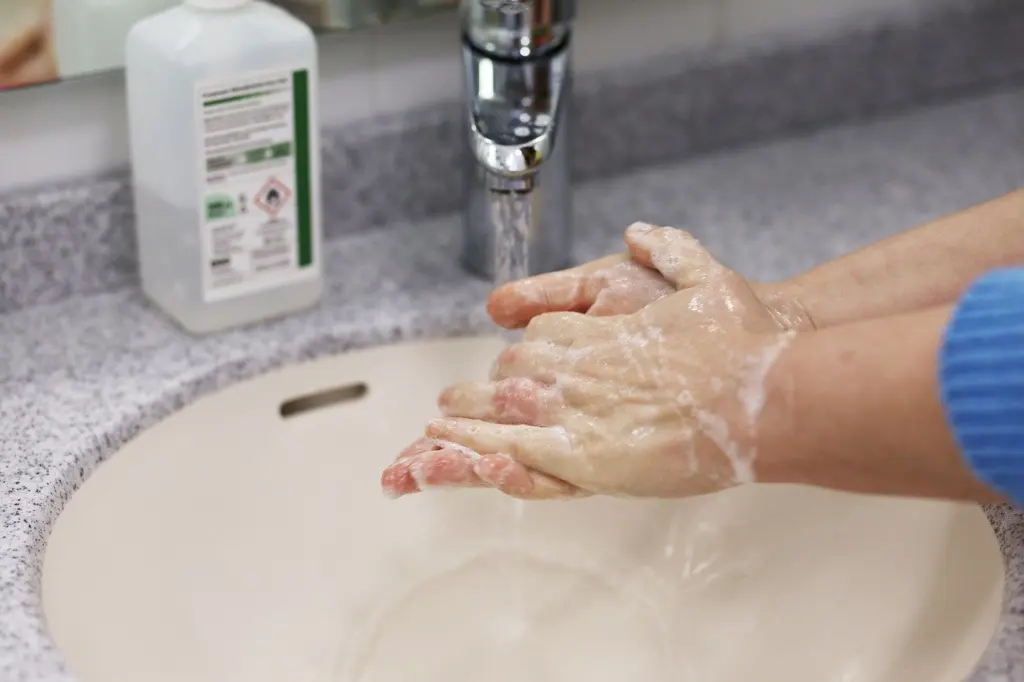
Hydrogen peroxide is the strongest option in this list, and the one with the clearest limits. Almond Nails describes a soak using 3% hydrogen peroxide mixed with water, with the fingers soaked for up to 15 minutes. It cautions that this should be done only once per week and for no more than three months straight. The soak can also sting if you have cuts on your hands or open areas around your nails. Choose it only when the milder methods have not been enough, and skip it entirely if the skin is broken.
Comparing the methods at a glance
| Method | How it is used | Time and frequency | Planning use |
|---|---|---|---|
| Baking soda paste | Paste of baking soda and water; apply, scrub gently, rinse | No set time given | Best first step; keep the scrub gentle |
| Lemon wedge or juice | Rub on stained fingers, then rinse | Rinse after about 5 to 10 minutes; up to five times a day | Good for light staining; repeat sparingly on sensitive skin |
| Pumice stone, nail file or nail brush | Exfoliate the stained skin | No set time given | Use care, as fingers are more sensitive than feet |
| 3% hydrogen peroxide soak | Mix with water and soak the fingers | Up to 15 minutes; once per week, no more than three months straight | Last resort; avoid on cuts, where it can sting |
Figures and methods here come from the Mirror and Almond Nails.
How long results take
None of the home methods above comes with a guaranteed timeframe, so be wary of any promise of minutes. What is supported is the slow route: left alone, the stains go away over months as skin cells are replaced, provided exposure stops. Almond Nails frames the home methods as an option for people who are not keen on waiting those months.
A sensible plan is to run a gentle method for a few days, judge the change by eye, and move up one step only if needed. If a method makes the skin red or sore, stop; the colour is only cosmetic, and irritated skin is a worse outcome than a faint yellow tint.
Why bleach is the wrong tool
Is bleach safe on skin? No. A doctor quoted by ABC7 News said any concentration of bleach above a low dilution can burn skin, and advised against trying a bleach treatment at home because the right dilution is hard to replicate. The British Association of Dermatologists, quoted by Yahoo Style UK, advises people with inflammatory skin conditions not to apply bleach directly to the skin. It also recommends that anyone with inflamed or broken skin avoid contact with bleach in those areas.
The reasoning is simple. A stain that is only cosmetic does not warrant a chemical that can burn. If you want a bleaching effect, the milder peroxide soak described above is the more controlled option, with its weekly limit and its 3% strength stated.
Aftercare and keeping the stains away
Moisturise after any of these methods. The Mirror stresses this step to prevent dry skin, and it matters most after lemon, peroxide or exfoliation, which all strip some of the skin’s surface. Use a plain hand cream and apply it to the fingertips and around the nails.
Moisturiser repairs the damage from treatment but does nothing to stop new staining. For that, the options come back to the cigarette itself. Almond Nails notes that fingers stain especially when smokers use unfiltered cigarettes, so a filter is a minor mitigation, while stopping is the only way to let the skin clear and stay clear.
Hands are rarely the only place smoking leaves a mark. If you are clearing up after the habit, the smell in How To Get Smoke Smell Out Of Your Car: A Practical Step‑By‑Step Guide To Freshen Your Interior – Canstopsmoking and on fabrics, covered in How To Remove Cigarette Smell From Clothes In 2026: Fast, Lasting Methods That Work – Canstopsmoking, are the next things to deal with.
Frequently asked questions
Can whitening toothpaste help with nicotine stains on fingers?
The Mirror says whitening toothpaste works too, because its hydrogen peroxide helps lift discolouration. It is a mild option to try alongside baking soda before moving to a stronger soak.
Do the stains come back after I remove them?
They can. Natural fading depends on exposure stopping, so if smoking habits do not change, new stains keep forming and the colour returns.
Why do some smokers have darker fingers than others?
Almond Nails links heavier finger staining to unfiltered cigarettes and to starting smoking early. How the cigarette is held and how often it is smoked also affect where the colour builds up.